Showing posts with label artsandcraft. Show all posts

Sunday, 2 August 2015

Summer book delivery

Flicking through the latest Book People leaflet I noticed loads of great value sets that I wanted to get the kids to keep them (and myself) occupied over summer. The Book People's books can be highly discounted and they are always bringing out new ranges which is why I often cannot stop myself from buying more and more!

Coming home to a new delivery always gets me excited especially when it has all these goodies inside...


My youngest son is just getting into action novels and was eager to start The Maze Runner collection so hopefully that will keep his evenings busy. I doubt very much I will get through 10 novels but for £4.99 for the whole collection I couldn't not order them, I'm sure eventually I will read them all!

My daughter loves YouTube and is a keen crafter so if she gets bored of watching Alfie and Zoella, she can just read about them instead, or make something with some fabulous fun tape.

I am not sure who is more excited about the Querkles and the Dot to Dots, we have all had a turn and I am amazed at the outcome! They actually take a lot longer than I expected to complete but I suppose that means I just get peace and quiet for a bit longer.

It cost me just over £25 for 17 books which I think is a bargain, although I still have loads of other sets that I have my eye on!

What are you reading over the summer?

Monday, 21 July 2014

Plastic bag footballs

 World cup fever has come to an end but it doesn't have to stop in Brazil!

One of the activities we did at school in the last term was make plastic bag footballs, and the kids thoroughly enjoyed it, although you can imagine the state of the classroom with 27 nine year olds all making them at the same time.

It's not often I can get my son to do any sort of craft activities (he would much rather be in the garden kicking around a ball) but for some reason he was really keen to partake in this one.

If like me you have a cupboard full of plastic bags that just seems to keep growing because you always forget to bring them with you to reuse at the supermarket then this is a great way to make the most of them. All you need is:

  • 1 old newspaper
  • 10 plastic bags
  • string


 First roll up a few pages of paper into a sphere and then continue to wrap more paper around it one sheet at a time so it is smooth and round.


 Once you have your desired size place into the corner of a plastic bag, twist around the top and then fold back over and tie the ends. Continue to add plastic bags, pulling tight to keep the ball solid.


Once you have covered the ball with all the bags then secure them in place by wrapping a piece of string tightly around it. If it is wrapped equally it makes it easier to weave the next piece of string through it.


Using a second piece of string, keep weaving it over and under the first piece to evenly cover the ball and make sure there are no bits of bag hanging loose. This is quite difficult for the kids but great fun for adults so is a good chance for you to join in.


Secure the string by knotting the ends and cut of any stray pieces of string off to avoid it coming loose. Your ball is then ready to start kicking around.


The idea of the plastic bag football actually came from children in poorer countries of the world that don't have access to expensive leather balls or even the cheaper plastic versions so they took the initiative to make their own. To see a proper tutorial then search YouTube to see how they do it.

So if your kids have the habit of leaving their ball at the park or keep kicking it over the neighbours garden then have no fear, they can just make themselves another one (or you can have fun making it for them)

Wednesday, 19 March 2014

Getting Arty with Center Parcs


I have seen Center Parcs challenges before and they always look fun but we have never entered any, so when I saw that the March challenge was to create a piece of flower art I just knew my 11 year old would love to take part!

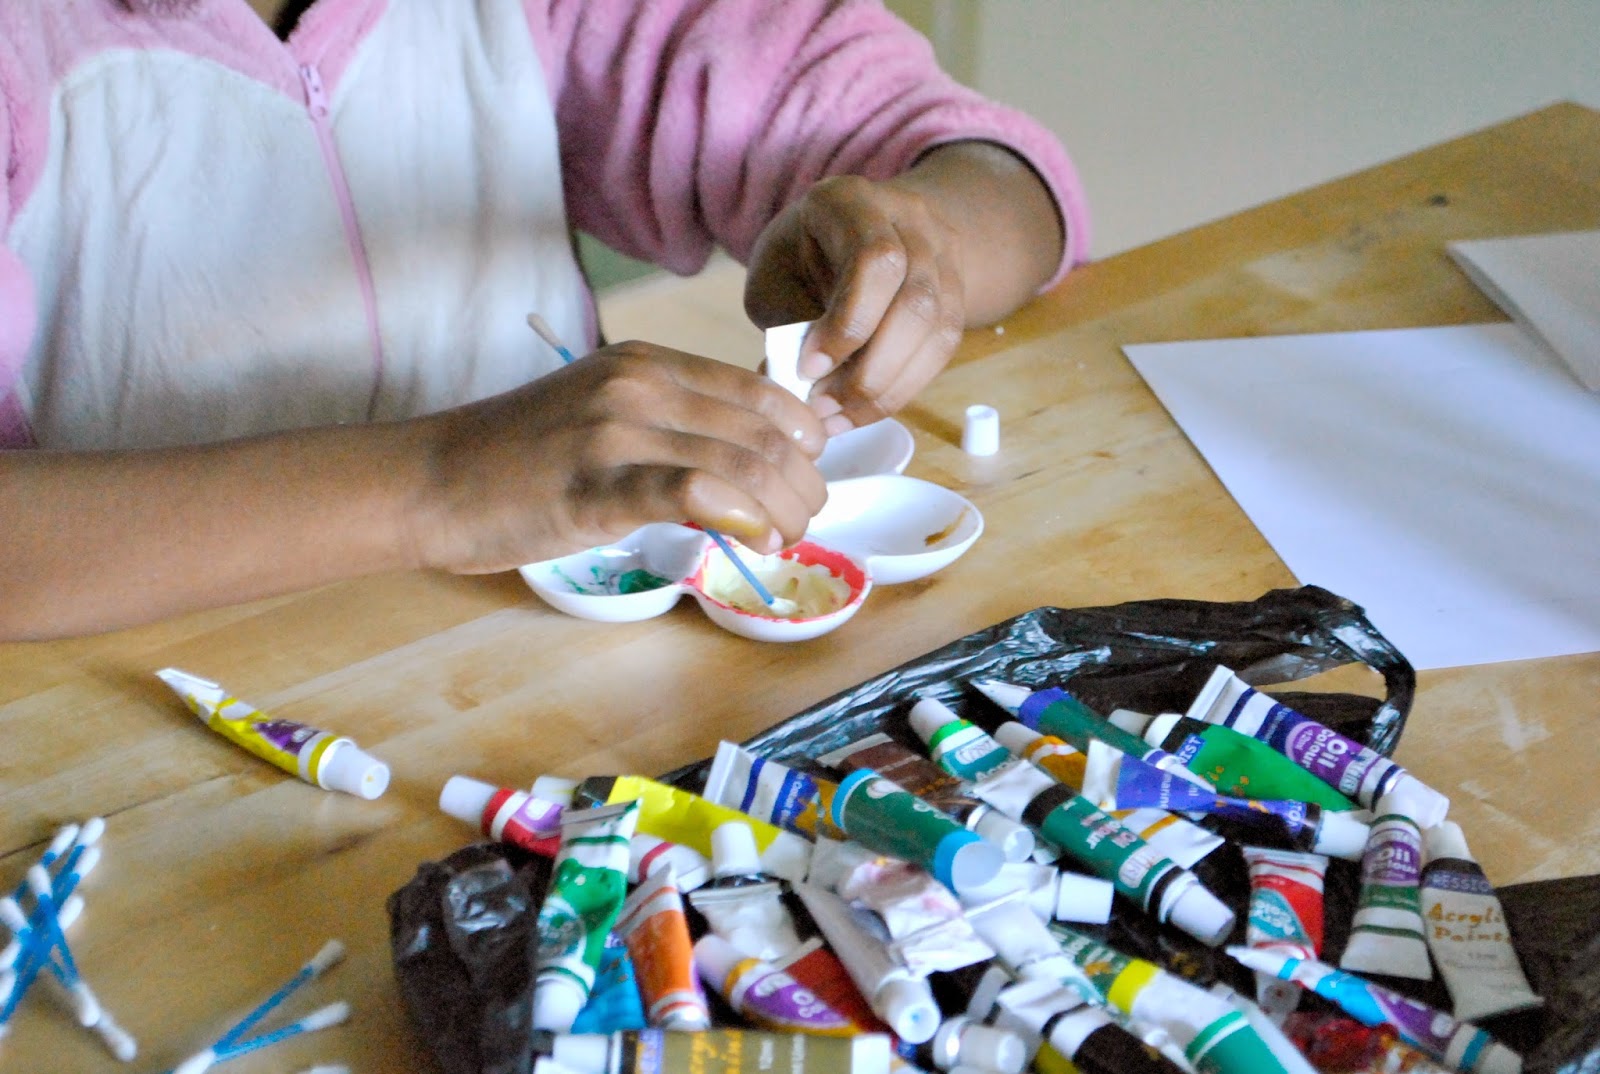
Kyra is the creative one in our family, her room is covered with art supplies and bits of old tat that she insists she needs because she is going to make something out of it! For Christmas she got loads of oil and acrylic paints and although she had dabbled around with them to check what the colours look like she hadn't actually created any artwork, until now...


Choosing the right colours
Having a bit of a mix

Although its spring and the trees are starting to bloom, our garden is still a bit on the bare side! Luckily my daughter spotted this lovely bunch in our local Tesco for a mere 75p. I actually thought they would last a couple of days at the most, but at the time of painting them they were actually about ten days old, although not entirely fresh they were still nice and bright enough to make a good piece of artwork out of!

Concentration

Getting stuck in

Having read the tips from Creative Crafter Emma Hull, Kyra decided she liked the idea of printing using your fingers or potatoes. Thinking it would be a bit messy having oil paints over her fingers and potato printing would be a bit too big for her delicate flowers, she decided instead to use cotton buds and rolled up pieces of tissue to get the right effect.

I recently bought a frame to put a piece of cross stitch that I'm working on in, but it seems to be taking me so long to complete! I decided to put Kyra's lovely piece of art into it instead and it was a perfect fit!

Here is finished product...

This is my entry to the Center Parcs and Tots 100 March challenge. If I’m chosen, I would like to visit Elveden Forest.


Wednesday, 24 April 2013

Cross stitching

This is my guide to cross stitching, even though I've been doing it for the past 16 years I am still a mere amateur compared to some!
When I say 'doing it for 16 years' I actually mean I started 16 years ago, but there are times when I've started a project only to put it away in a drawer and not return to it for another 2 years!

It all started as my younger cousin was given a kit and didn't know what to do with it so handed it over to me.
Being a heavily pregnant 18 year old, I had given up college to try and sort my life out, given up my part time job in McDonald's due to the constant morning sickness and I needed something to fill my time.
Most of my friends would be out enjoying themselves, clubbing, getting drunk, shopping for the latest fashions and there I was in my jogging bottoms (couldn't afford proper maternity clothes) making pictures with a needle and thread!

I didn't know how to actually cross stitch as there were no instructions so I just worked it out with common sense, it's not too much of a complex pastime and although very time consuming it's actually quite relaxing.

So my first project was a red flower. I stitched all the right squares in the right colours so didn't understand why it looked so bad.
My first mistake was that I used a full piece of thread instead of pulling it apart, 1 piece of thread can be divided into 6 strands and I should have used 2 of those strands rather than 6 meaning each cross was way too thick. The second mistake was that all the crosses were going in different directions which makes the finished outcome look very messy. If the first cross has 1 thread going bottom right to top left and the other going bottom left to top right then every cross after that has to follow that direction.

The thing I like about cross stitching is seeing the picture develop, like a painting or a puzzle only it takes a little more time.
My favourite types of cross stitch are something colourful and cute, big enough to fit in a frame but not too big as I do like to eventually finish them!

A few examples of cross stitching I have previously made.

Related Posts Plugin for WordPress, Blogger...